How to Perform an HP Warranty Check: A Step-by-Step Guide
Checking the warranty status of your HP laptop is crucial for ensuring you can get repairs or replacements if needed. Each manufacturer has its own method, so here’s a breakdown of how to check your warranty for each brand:
HP Laptop Warranty Check:
HP offers several ways to check your warranty:
- HP Support Website:
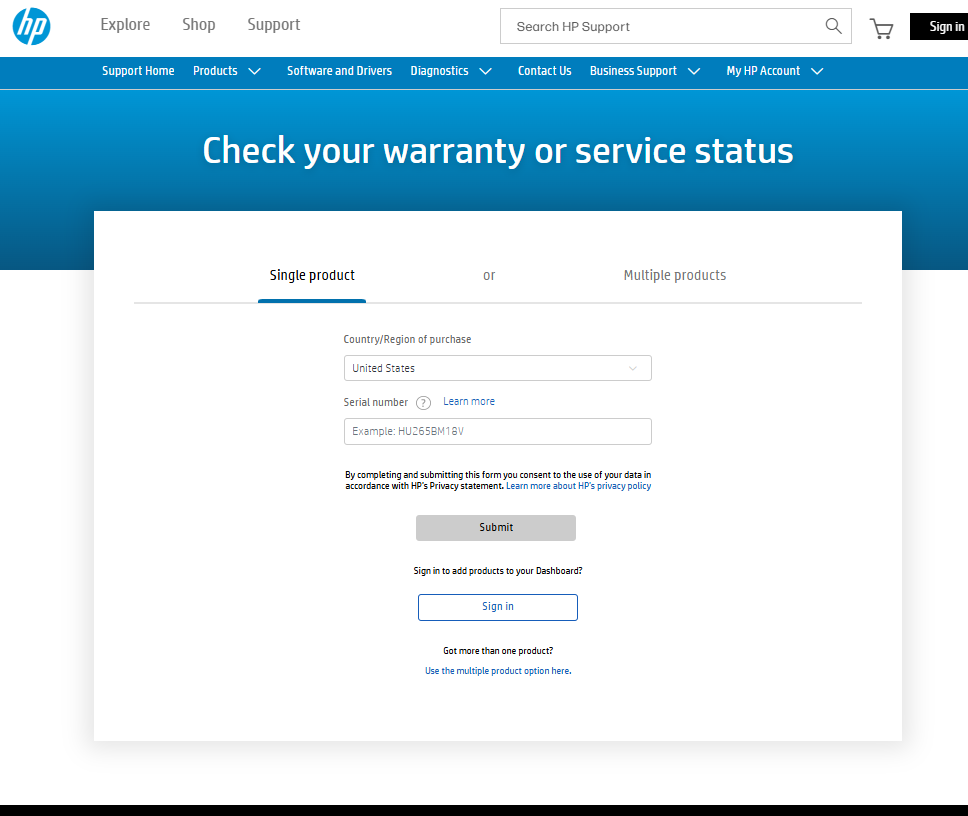
- Go to the HP Support website: support.hp.com.
- Click on “Identify my product” or “Check warranty status.”
- You’ll need your laptop’s serial number. You can usually find this on a sticker on the bottom of the laptop, in the BIOS, or by using the HP Support Assistant.
- Enter the serial number and follow the prompts. The website will display your warranty status, including the start and end dates.
- HP Support Assistant:
- If you have the HP Support Assistant software installed on your laptop, you can use it to check your warranty.
- Open the HP Support Assistant.
- The warranty information is often displayed on the main screen or in the “My Devices” section.
- If not easily found, there is usually a support or warranty section within the application.
- HP Contact Support:
- If you have trouble finding your warranty information online, you can contact HP support directly. They can help you check your warranty status using your serial number.